A Higonokami pocket knife is a little different to a kitchen knife. It can be sharpened two different ways.
Just to make things complicated.
The knife’s thick, narrow blade has a primary bevel and a tiny secondary bevel, just like a kitchen knife. Unlike with a kitchen knife though, the secondary bevel can be ground off completely, leaving only the primary bevel. This is called a ‘Scandi’ grind.
1. STANDARD METHOD
This method is exactly the same as how you’d sharpen a kitchen knife and is simply restoring the original edge of the Higonokami. Use your normal whetstone setup to sharpen the secondary bevel only, leaving the primary bevel untouched.
Read about how to sharpen a kitchen knife with a whetstone here.
For the purposes of this blog post, I wrote to Mr Nagao (who makes all Higonokami knives in Miki, Japan) about the angle they are sharpened to. He reported that Higonokami knives are all sharpened manually, and have “no targeting bevel angle”. He also said “The secondary angle also depends on the cutting materials and customer's purpose.” Hmmm.
I thought it would be useful for you to be a little more specific, so I’ve estimated the primary bevel angle of a 7cm Higonokami to be 17 degrees. I used a ruler and a bit of GCSE maths. I therefore recommend sharpening a secondary bevel at just more than this – I would say between 20 and 23 degrees.
A honing rod can be used too, at the same angle, to maintain the edge.
2. 'SCANDI' METHOD
The Scandi grind (also known as ‘flat’ or ‘V’ grind) requires a lot more work. It took me about an hour and quite a lot of kit. It produces a sharper but more fragile edge because the edge angle is smaller.

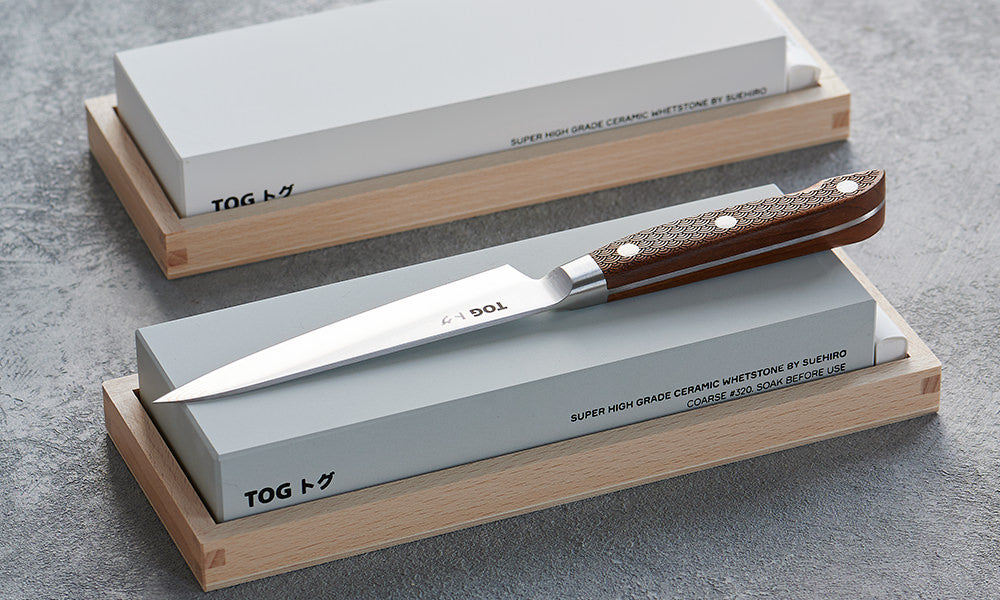
Place the knife on a coarse whetstone (eg. #200) or diamond plate so that the primary bevel (the large one) is completely flat on the stone. Then grind the entire surface of the primary bevel until the secondary bevel is no longer visible. Do this on both sides and you will have formed a new apex (‘V’) where the two primary bevels meet.

Then you simply repeat this with your progression of stones – perhaps #1000 medium and #4000 fine to finish the process. A leather strop with metal polish will give you a mirror finish which is pretty nice. You can also run the blade down an old piece of wood to make sure any burr is removed as a final step.

You can't maintain a Scandi grind with a honing rod as it will start creating a secondary bevel. You'll need to grind flat on whetstones to maintain your edge.
CONCLUSION
For all but hardened enthusiasts, I’d recommend Standard Method 1 as it’s a lot easier and quicker.
TOG SHARPENING GUIDE

Browse our articles on knife sharpening to learn from scratch or hone your skills.
TOG SHARPENING PRODUCTS
We have created what we believe is the best range of sharpening products possible.

